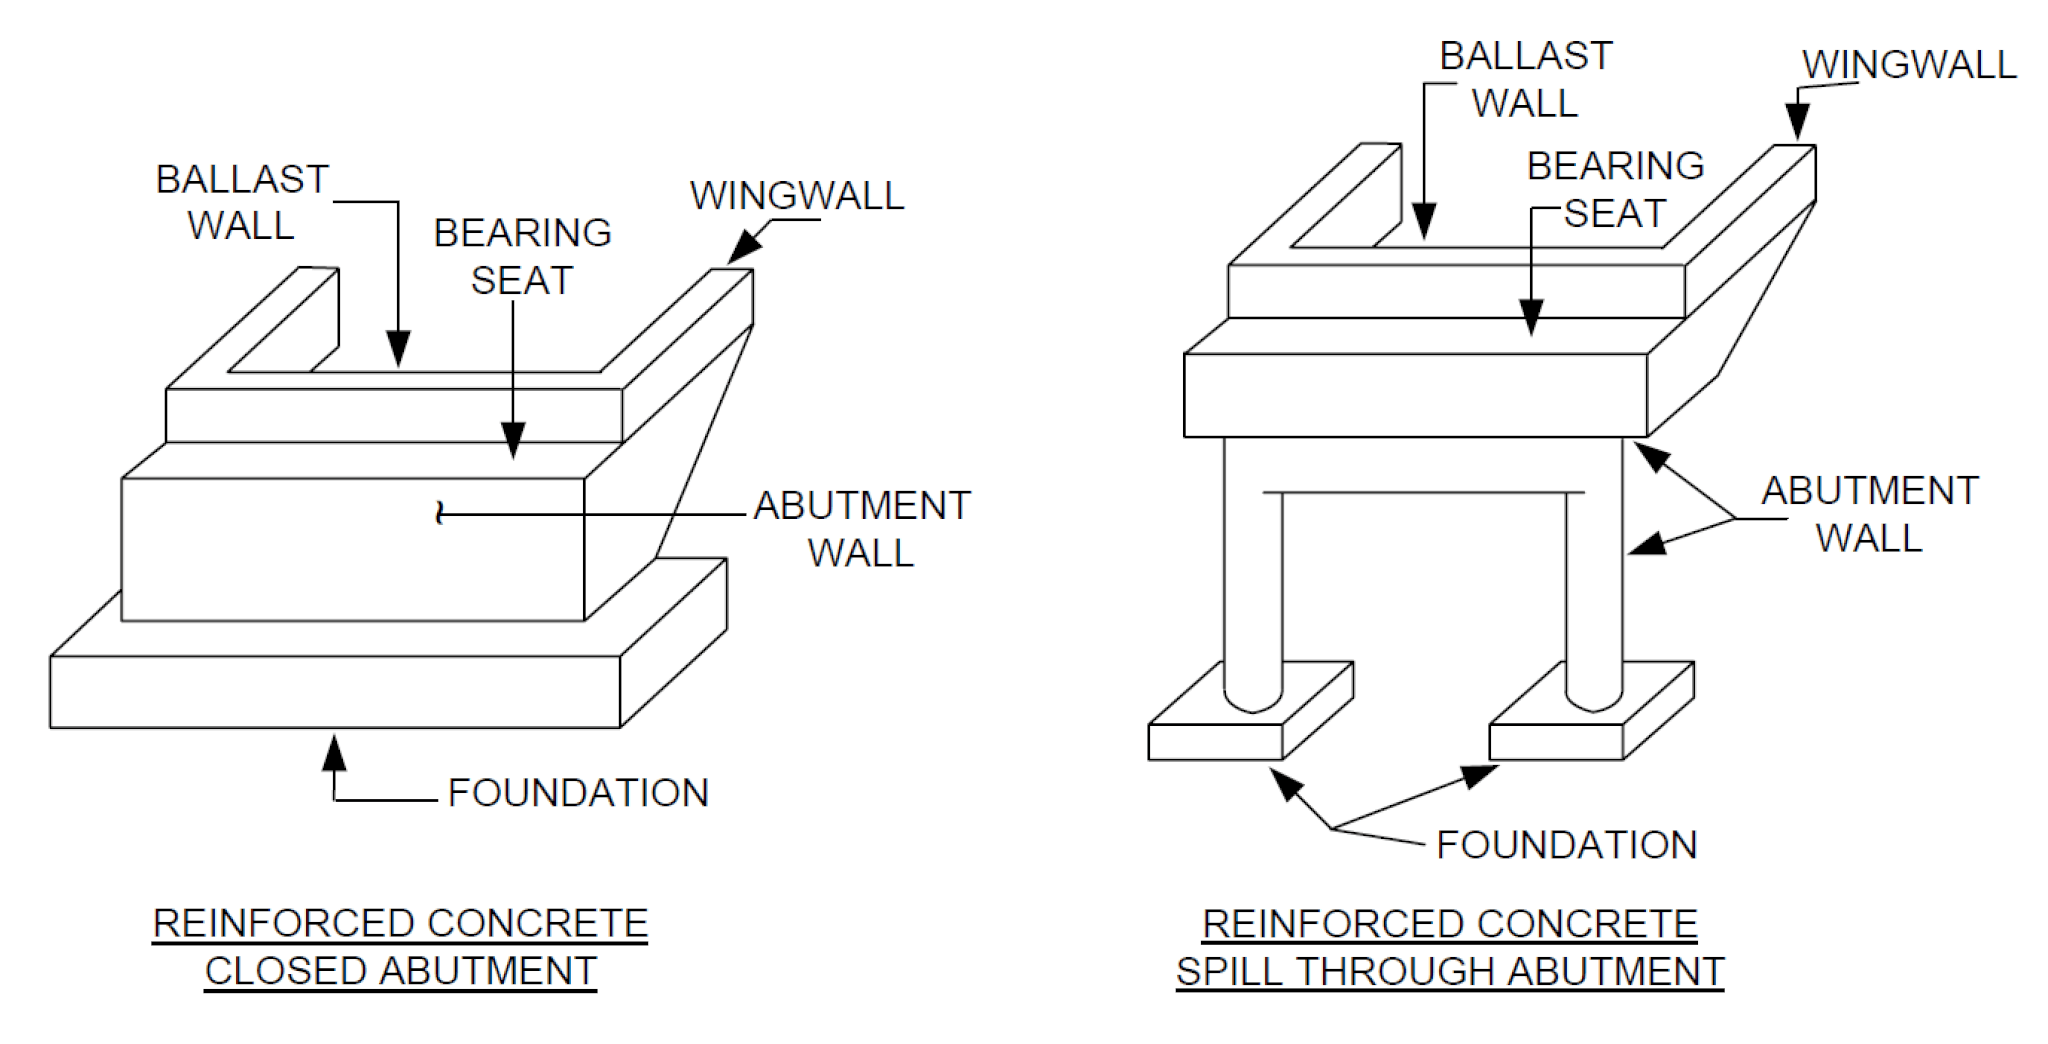
In a bridge structure, abutment refers to the substructure unit which supports the end of the structure (bridge span) and retains the approach fill (see Ontario Structure Inspection Manual). Abutments are commonly made of mass concrete, reinforced concrete, or wood.
Usually, abutments consist of a number of components:
- + Foundation
- + Abutment wall
- + Ballast wall
- + Wing walls
- + Bearing seats.
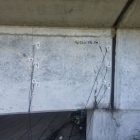
(Image on the right: Adapted from OSIM, 2008)
Abutments can have several deficiencies that could affect their durability and structural performance. According to the OSIM, “Performance defects of abutment walls relate to their ability to provide adequate support to the superstructure and to retain the approach fills without appreciable movements.”

How To Evaluate Abutment Walls?
Existing abutment walls can have certain deficiencies in their original design or detailing. For example, bridge structures that were built in the 1960’s or older may have seismic deficiencies, mainly because seismic provisions were only adapted in design codes in the 1970’s. Moreover, deterioration of concrete over the service life of the structure could negatively impact the durability and structural performance of abutments.
More information on the condition of existing abutments is needed before engineers can design a cost-effective and reliable retrofit/rehabilitation scheme. This is also important if engineers are interested in re-using the existing abutment. In many cases, engineers will be interested to evaluate the existing thickness of abutment walls, and information about the quality and integrity of subsurface concrete. Traditional testing methods such as extracting concrete cores are often used for this purpose. However, there is a risk of damaging the structure.
Challenges of Concrete Coring — READ MORE
Alternatively, engineers can use various non-destructive testing (NDT) methods to evaluate bridge abutments. These NDT methods can be used to:
+ identify potential location of defects,
+ study the state of certain damages (i.e. corrosion) over the life-cycle,
+ provide information about durability properties of concrete (permeability, surface electrical resistivity),
NDT methods can significantly shorten the inspection timeline, and improve labour safety.

Non-Destructive Evaluation of Bridge Abutments
1- Ground Penetrating Radar
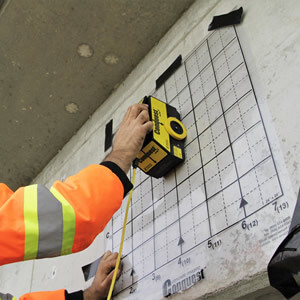
Ground penetrating radar (GPR) is a very useful technique for nondestructive evaluation of concrete. GPR uses pulsed electromagnetic radiation to scan concrete. GPR consists of a transmitter antenna and a receiver antenna, and a signal processing unit. GPR emits electromagnetic pulses (radar pulses) with specific central frequency to scan the subsurface medium. The reflected waves from subsurface layers, and objects are captured by the receiver antenna. The scanning apparatus can be mounted on a truck or a special vehicle and perform the scan at the traffic speed. This will eliminate the need for extended road closures. The practice has been standardized by ASTM D6087, 2008.
The main advantage of GPR method is the speed of test. Large areas can be scanned in a limited period. GPR can be used for scanning the location of steel reinforcement. The device can be used over existing coatings. While GPR can not directly detect delaminated areas on the concrete, it can indirectly identify potential delamination where moisture content varies. It is noted that GPR can not provide information about the mechanical properties of concrete.
2- Half-Cell Corrosion Mapping
Corrosion mapping is a widely used test procedure to identify the areas with active corrosion activity. The test can reveal the locations with high likelihood of corrosion; it can also be used to evaluate the quality of repair. Engineers should consider that any coating or paint residue should be removed before conducting the test. Read More: Half-Cell Corrosion Mapping
3- Ultrasonic Tomography
The Ultrasonic Pulse-Echo (UPE) method can be used for thickness measurements, flaw detection, detecting delamination, and evaluation the integrity of concrete. The concept behind this method relies on the propagation of stress waves through materials. A transmitter introduces a stress pulse into the object at an accessible surface. The pulse propagates into the test object and is reflected by flaws or interfaces. The emitted impulse and the reflected acoustic waves are monitored at the receiving transducer. The signals are analyzed in the time domain, to calculate the wave travel time. UPE can be used to effectively identify voids and poor quality patches within abutment walls.
4- Impact-Echo
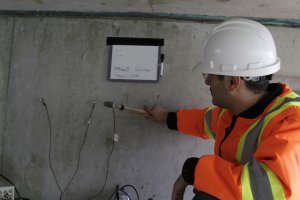
In Impact-Echo test, a stress pulse is generated at the surface of the element. The pulse spreads into the test object and is reflected by cracks, flaws or interfaces, and boundaries. The surface response caused by the arrival of reflected waves, is monitored using a high precision receiving transducer (Malhotra and Carino, 2004). When stress waves travel within the concrete element, a part of emitted acoustic waves by the stress pulse on the surface is reflected over the boundary layers, where different the material stiffness changes. Read More About How to Test Concrete Using Impact Echo Method
The data received by the transducer is normally analyzed in the frequency domain to measure the wave speed and the thickness. This procedure has been standardized as the ASTM C1383, “Standard Test Method for Measuring the P-Wave Speed and the Thickness of Concrete Plates Using the Impact-Echo Method”.




Anne Gitta
Very good information.
What would be the most appropriate equipment I would use to study the profile of a concrete structure to a depth of about 0.5 metres.
And also is there any that I can use underwater with or without divers??